Oracle Database 11gR2 on Solaris 11.1 on virtual Box
Oracle solaris 11 comes with all default required packages for oracle database Installation.
Only version 11.2.0.3 is certified to be Installed on Oracle Solaris 11.

Hardware Requirement:
CPU - Min Single Core - (>1 GHz)
RAM - 2 GB
SWAP - 4GB
HDD - 10GB
Information of Oracle Solaris 11 Installation and configuration:
- Oracle Solaris has been Installed using sol11-text-media
- IPS has been configured for additional package Installation
High Level Steps:
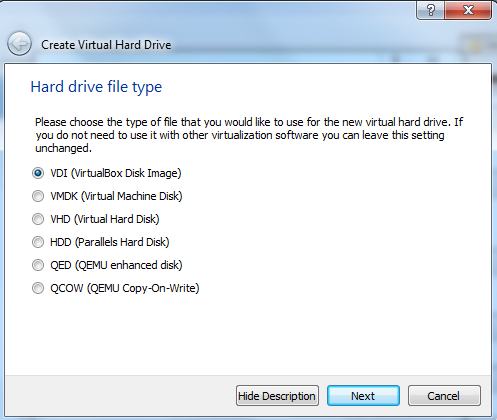
1) Create virtual Machine using Oracle VirtualBOX
2) Install Oracle Solaris 11.1 using text media
3) Configure Local repository using NFS protocol
4) Install package (slim_install) to enable GUI
5) Perform all OS pre-requisites for 11g (11.2.0.3) Database Installation
6) Install Oracle Database 11.2.0.3
1) Create virtual Machine using Oracle Virtual Box


2) Install Oracle Solaris 11.1 using text media
Power ON the virtual Machine and Install Solaris 11


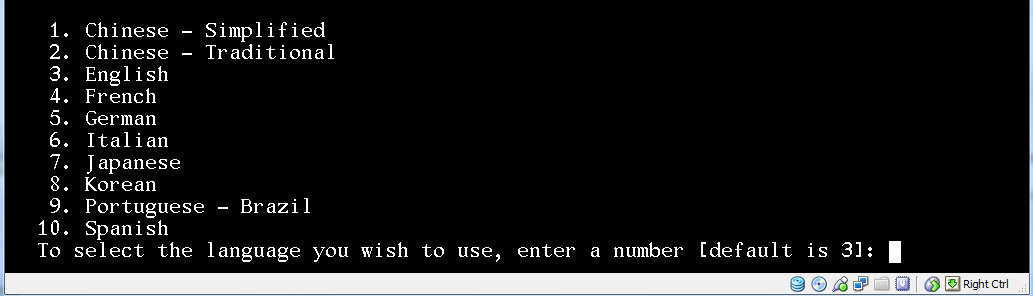


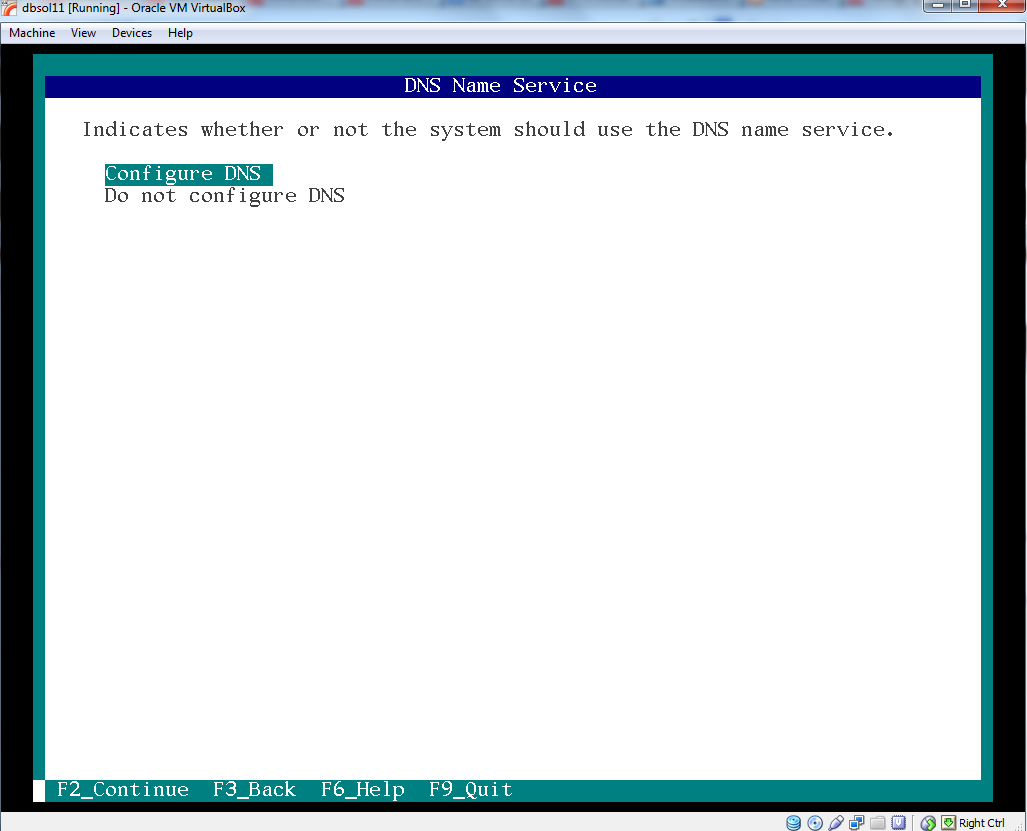
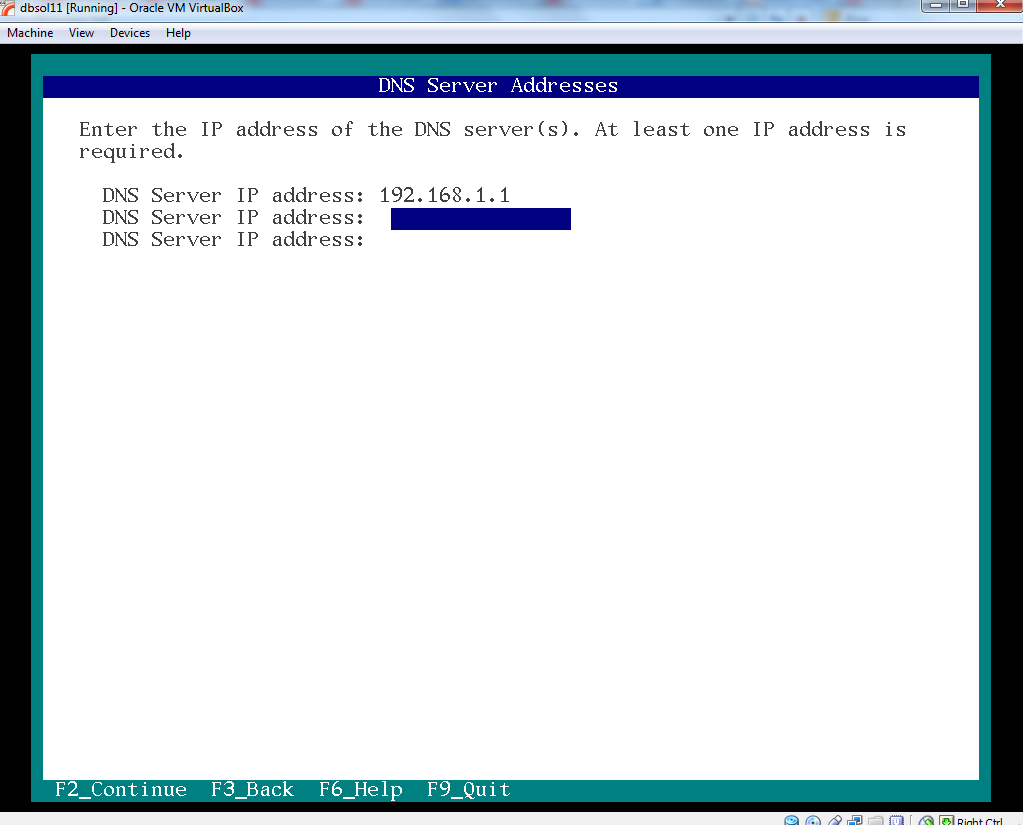


- Oracle Solaris 11.1 text Install login screen
3) Configure Local repository using NFS protocol
Merge two iso repository images of Solaris 11.1 for creating 1 DVD with full repository.

I have already merged this DVD into 1 single DVD on another solaris machine.
Now Just i will insert this DVD in a virtual box and configure repository.

- Create Mount Point for storing IPS repository:

- Copy Image repository from media to local Disk:

- Enable NFS share on directory where you have copied IPS repositroy:


- Set package Publisher:

- Verify Publisher:


4) Install package (slim_install) to enable GUI
- Install package slim_install and reboot machine


- After reboot you should able to see GUI enabled login screen

5) Perform all OS per-requisites for 11g (11.2.0.3) Database Installation:
- Create OS group and user:
root@dbsol11:~#groupadd dba
root@dbsol11:~#useradd -g dba -d /export/home/ora11g -m ora11g
root@dbsol11:~#zfs create -o mountpoint=/oradb rpool/oradb
root@dbsol11:~#mkdir -p /oradb/oracle
root@dbsol11:~#chmod -R 775 /oradb/oracle
root@dbsol11:~#chown -R ora11g:dba /oradb/oracle
Configure Kernel Parameters:
root@dbsol11:~# projadd ora11g
root@dbsol11:~# cat /etc/user_attr
#
# The system provided entries are stored in different files
# under "/etc/user_attr.d".  They should not be copied to this file.
#
# Only local changes should be stored in this file.
# This line should be kept in this file or it will be overwritten.
#
root@dbsol11:~# vi /etc/user_attr
root@dbsol11:~# cat /etc/user_attr
#
# The system provided entries are stored in different files
# under "/etc/user_attr.d".  They should not be copied to this file.
#
# Only local changes should be stored in this file.
# This line should be kept in this file or it will be overwritten.
#
ora11g::::project=ora11g
root@dbsol11:~#

- Add listed above entry in file /etx/user_attr
root@dbsol11:~# prctl -n project.max-shm-memory -v 4gb -r -i project ora11g
root@dbsol11:~# projmod -s -K "project.max-shm-memory=(priv,4gb,deny)" ora11g
root@dbsol11:~#
root@dbsol11:~# cat /etc/project
system:0::::
user.root:1::::
noproject:2::::
default:3::::
group.staff:10::::
ora11g:100::::project.max-shm-memory=(priv,4294967296,deny)
root@dbsol11:~#

- Make sure that swap (double value of RAM) and /tmp (min 1GB) directory are configure properly I Have configured swap value to 4GB - Insert 11.2.0.3 Database media in virtual box guest and copy
software to local directory on server


6) Install Oracle Database 11.2.0.3
- Execute script runInstaller from 11.2.0.3 stage directory


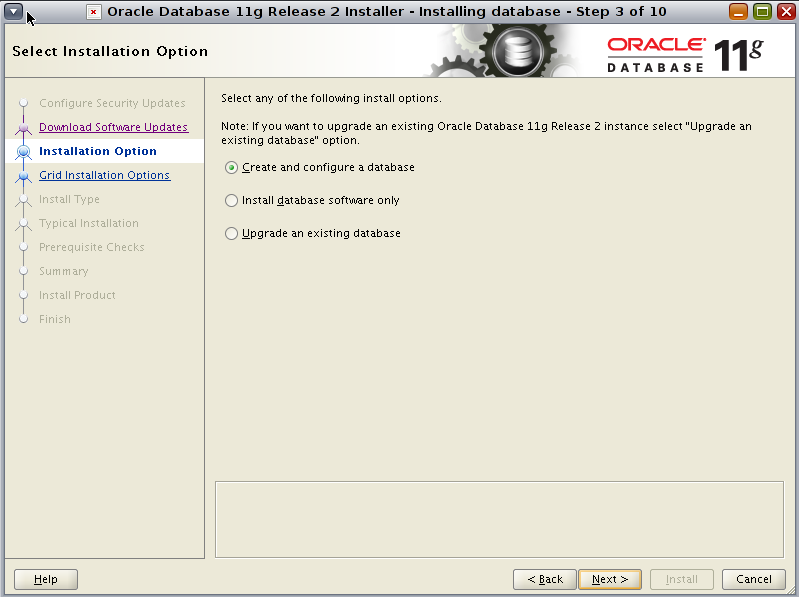


- Specify location of Oracle base, oracle Home & oracle Inventory directory


- Now database creation in progress


- Now execute root.sh script in sequence from root user


- Installation completed succesfully


- Now login to database with EM and CLI

- Host OS - Solaris 11

- Create environment file for connecting to database using CLI

The Installation of oracle database 11.2.0.3 on Solaris 11.1 completed successfully. These steps will be helpful for individuals who are looking for some document for Installation of oracle database on solaris 11
In next article i will demonstrate how to configure Stand alone 11.2.0.3 GI in Solaris 11 OS.
Hope this article is helpful :)
thanks for reading.
regards,
X A H E E R

Comments
Thanks for reading this article. For modifying kernel parameters using projects file you have to be logged in as that user so that it can read and exucute projects commands successfully.
What you have to do is just open a new terminal and login as ora11g user and execute projects commmand as root user.
Hope its clear.
regards,
X A H E E R
ora11g@solaris:~$ su
Password:
Roles can only be assumed by authorized users
su: Sorry
ora11g@solaris:~$
How can I correct this? Sorry for the questions, but this is a great article that has been really helpful.